Now a days, WordPress is not just a blogging platform. From past few years, WordPress has become a robust content management system. By default, WordPress has two main post types:
- Post
- Pages
but you can create your own custom content types you want, these custom content types are referred as custom post types. So when the WordPress is giving you the option to go beyond blogging platform and line up your content management system so there is no reason not to create custom post type WordPress. So today we will show you how you can easily create your own custom post types.
What is custom post type?
WordPress has many post types like:
- post
- page
- attachment
- revision
- menu
by default. But, sometimes you might be requiring some custom post types according to your requirements. For example, You may need to create a custom post type for products for an e-commerce website, for assignments for an e-learning website, or for movies for a review website.
How to create custom post types?
To create a custom post type, you can either create a new custom post type plugin or if you are working with themes you can paste the following code in Active theme of “functions.php” file.
add_action( 'init', 'custom_post_type' );

function custom_post_type() {
    register_post_type( 'php_book',
        array(
            'labels' => array(
                'name' => __( 'Books' ),
                'singular_name' => __( 'Book' )
            ),
            'public' => true,
            'has_archive' => true,
            'rewrite' => array('slug' => 'books'),

        )
    );
}
First, we will walk you through with a fully working example of custom post type plugin so you understand how it works, take a look at below code. Create a new file in /wp-content/plugins/custom_post_types_plugin.php and paste the following code in it.
<?php

/*
Plugin Name: Custom Post Types Plugin By WPBrigade
Plugin URI: http://URI_Of_Page_Describing_Plugin_and_Updates
Description: Example to create your own custom post types plugin.
Version: 1.0
Author: WPBrigade
Author URI: http://www.twitter.com/WPBrigade
License: A "Slug" license name e.g. GPL2
*/

add_action( 'init', 'custom_post_type' );

function custom_post_type() {
    register_post_type( 'php_book',
        array(
            'labels' => array(
                'name' => __( 'Books' ),
                'singular_name' => __( 'Book' )
            ),
            'public' => true,
            'has_archive' => true,
            'rewrite' => array('slug' => 'books'),

        )
    );
}
To create a new post type, we will use the register_post_type() function.
In “custom_post_type()” function we registers a post type with name of “php_book” with an array of arguments. These arguments are the options for our custom post type and has two parts, first array has label name of our custom post type and singular name for custom post. Second array include other arguments like public visibility, archive and slug that will be used in URLs for this post type. You can learn more about using slug in WordPress here.
And what if you have no mood to do the coding thing, so there is always a option to go for custom post type plugin . For this we need to activate our WordPress custom post type plugin from “Plugins” area.

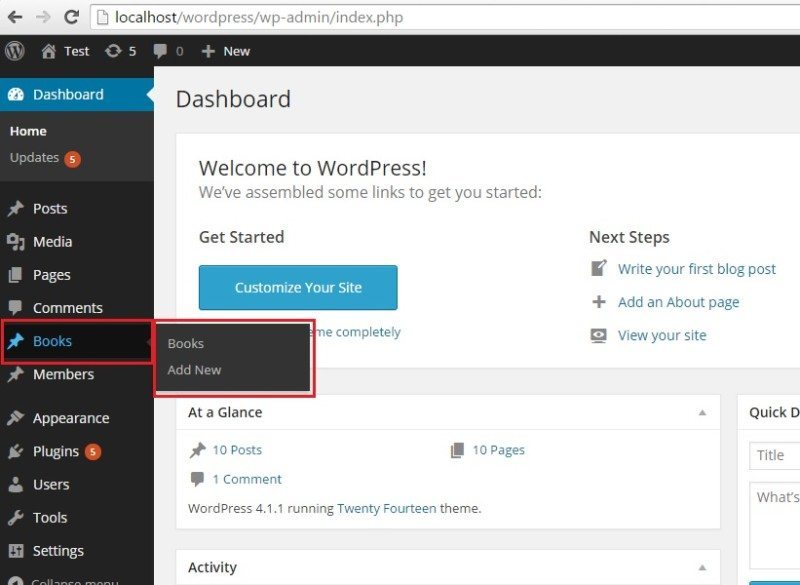
After activating the Custom Post Type Plugin from plugins page you will see the new Custom Post Type with the name “Books” in admin area.

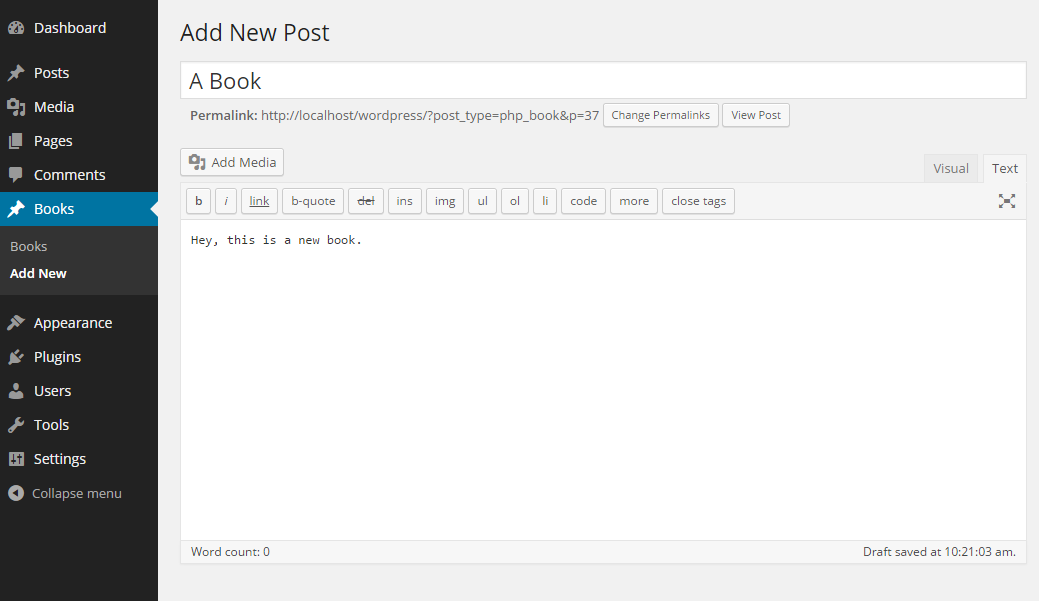
To add a new post you need to go to Book post from admin panel and click Add New.

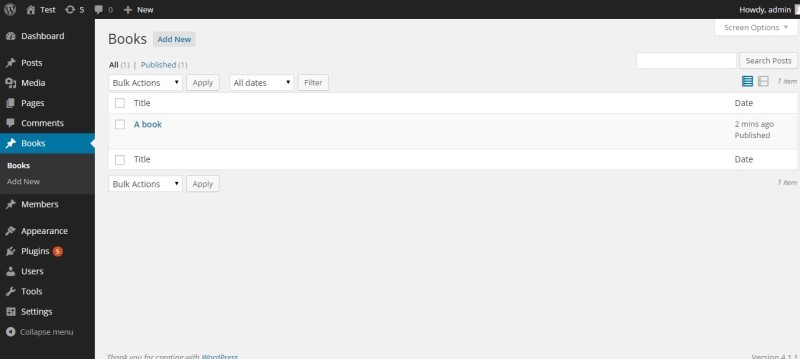
You can see the entries of book types like this.

Of course, you want to see the added books in the front end of your site. If you will see the page in front end you will be having a 404 error, probably.

Why? Because, you have to rearrange the rewrite rules as you have added new route/slug for book type entries.
Go to your permalink settings, change them to default and then again to your desired URL structure. Now if you will open the page to view the added book, you will surely be seeing the correct page.

See the list of all of the arguments that can be passed to register_post_type.
The setting 'has_archive' => true enables a general archive for your posts, you may also want to ensure your author pages include these custom post types to give your writers full credit for their work.

Leave a Reply