-

Last updated on January 10th, 2026 by Editorial Team
4th July Independence Day WordPress Deals & Coupons
The 4th of July Independence Day WordPress Deals are a great chance to improve your website without spending too much. You can get great discounts on important WordPress plugins that help your site run better, stay secure, and be user-friendly. Whether you need to customize your WordPress login page with LoginPress, a detailed analytics report
-

Last updated on January 10th, 2026 by Editorial Team
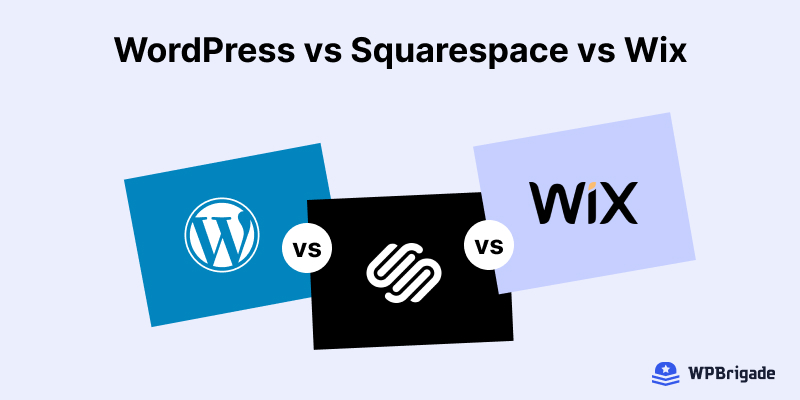
WordPress vs Squarespace vs Wix: Which One is Best in 2024?
Which website builder should you use to create a new site? Choosing the right website builder can be challenging, with popular options like WordPress, Squarespace, and Wix each offering unique features. Our WordPress vs Squarespace vs Wix comparison guide will explore each platform’s strengths and weaknesses to help you decide which site builder is best
-
Last updated on January 10th, 2026 by Editorial Team
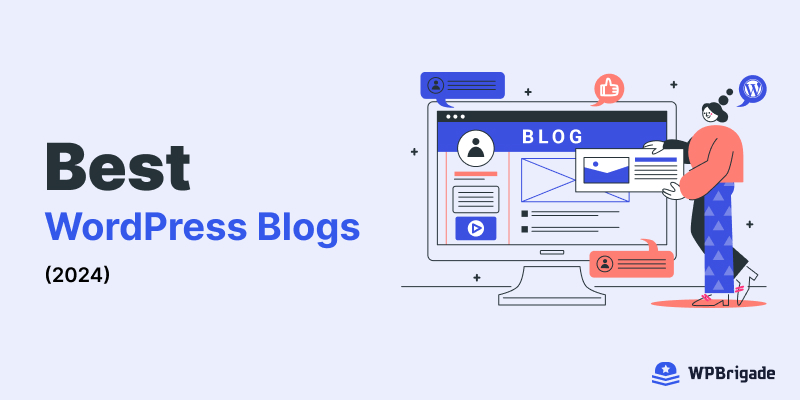
30+ Best WordPress Blogs to Read in 2024
Are you looking for the best WordPress blogs to follow? Look no further! WordPress is the world’s most popular content management system (CMS). It empowers over 43.3% of the web, and thousands of site owners provide valuable insights about it in their blogs. WordPress blogs help you stay up-to-date with the latest trends, best practices,
-
Last updated on January 10th, 2026 by Editorial Team
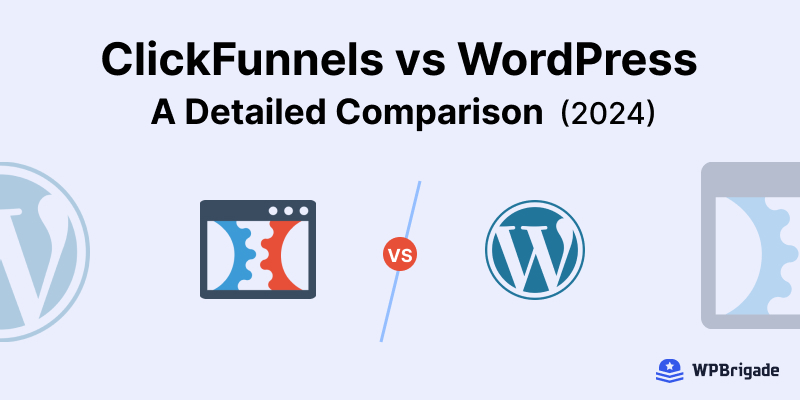
ClickFunnels vs WordPress: A Detailed Comparison (2024)
Are you unsure if WordPress or ClickFunnels is the right choice for building a site that will support the growth of your business or blog? Choosing the right platform to build and optimize your site can significantly impact your success. Our ClickFunnels vs WordPress comparison guide will provide the insights you need to choose the
-

Last updated on January 10th, 2026 by Editorial Team
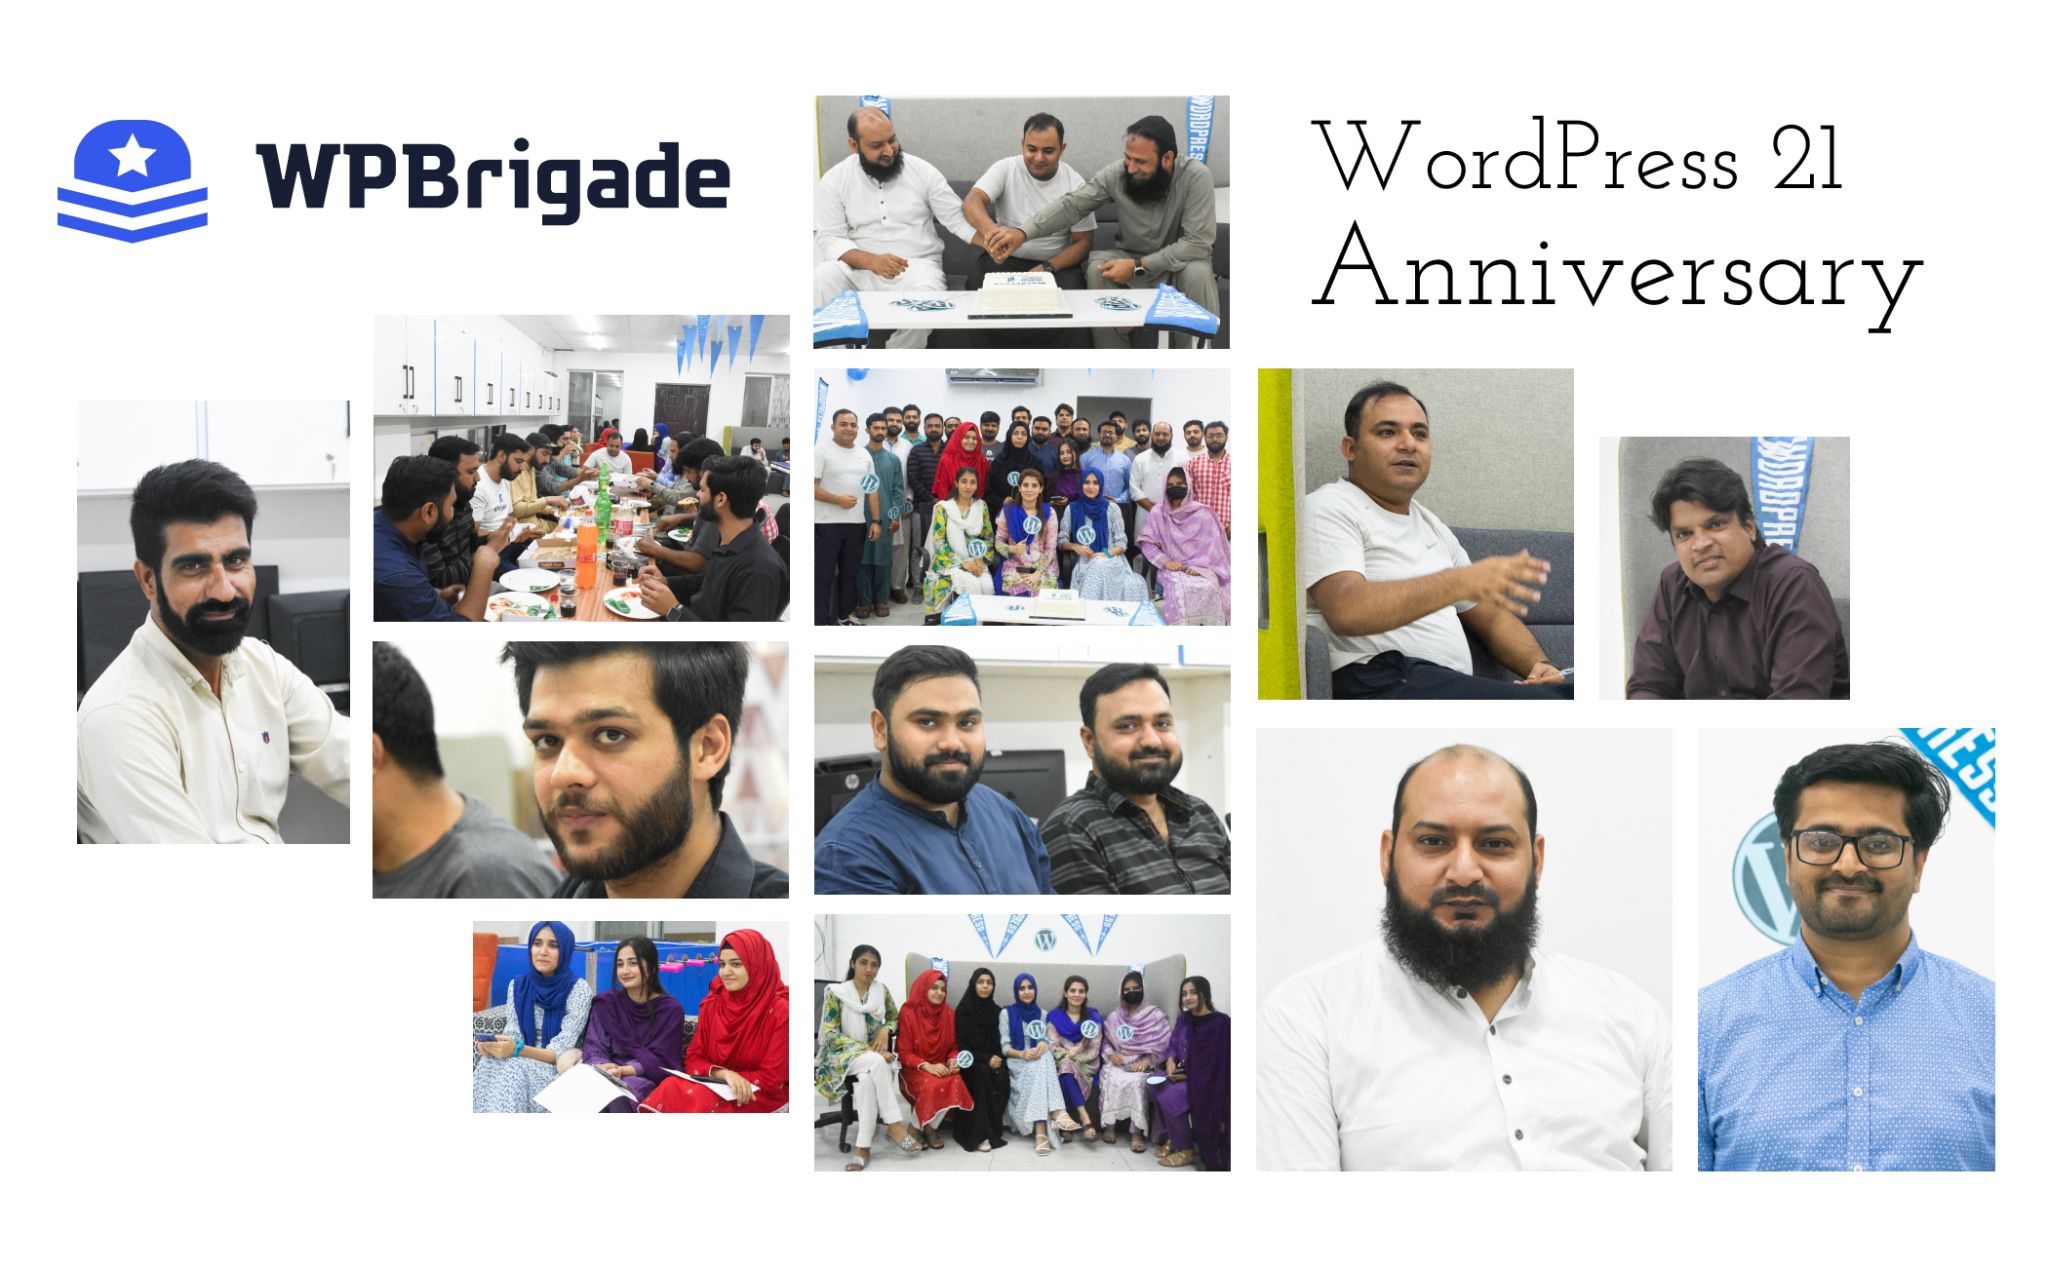
Celebrating 21 Years of WordPress with WPBrigade
WPBrigade hosted a special event in the Sialkot Office to celebrate WordPress’s 21st anniversary. This event marked over 20 years of innovation, community, and growth in web development, highlighting WordPress’s lasting influence on our lives and careers.