WPBrigade Blog
Latest WordPress Tutorials, Lists and Resources
-
Last updated on May 1st, 2026 by Editorial Team
Why You Should Be Using WordPress for Ecommerce
It is the fact and known to all users that WordPress was mainly created as a blogging platform so that they can provide a new platform for the bloggers to take their views online and gain some revenue. As the competition raises the demand for WordPress grows thus over the years, the WordPress platform was considered as a fully functional content management system.
-
Last updated on May 1st, 2026 by Editorial Team
How To Add a Custom Field via WordPress plugin?
Sometimes we need to add custom data for our posts and pages, other than title and content, especially when one becomes comfortable with WordPress, there is an urge to experiment with exciting features using WordPress custom fields. Suppose you are using Custom Post Types for your bookstore and want to save the Book price as well. You have added a title and description, but for the price, you will add a custom field. Today, we are going to gain an understanding of how you can add custom fields via WordPress plugins. In modern WordPress development, these kinds of functional stuff should…
-
Last updated on May 1st, 2026 by Editorial Team
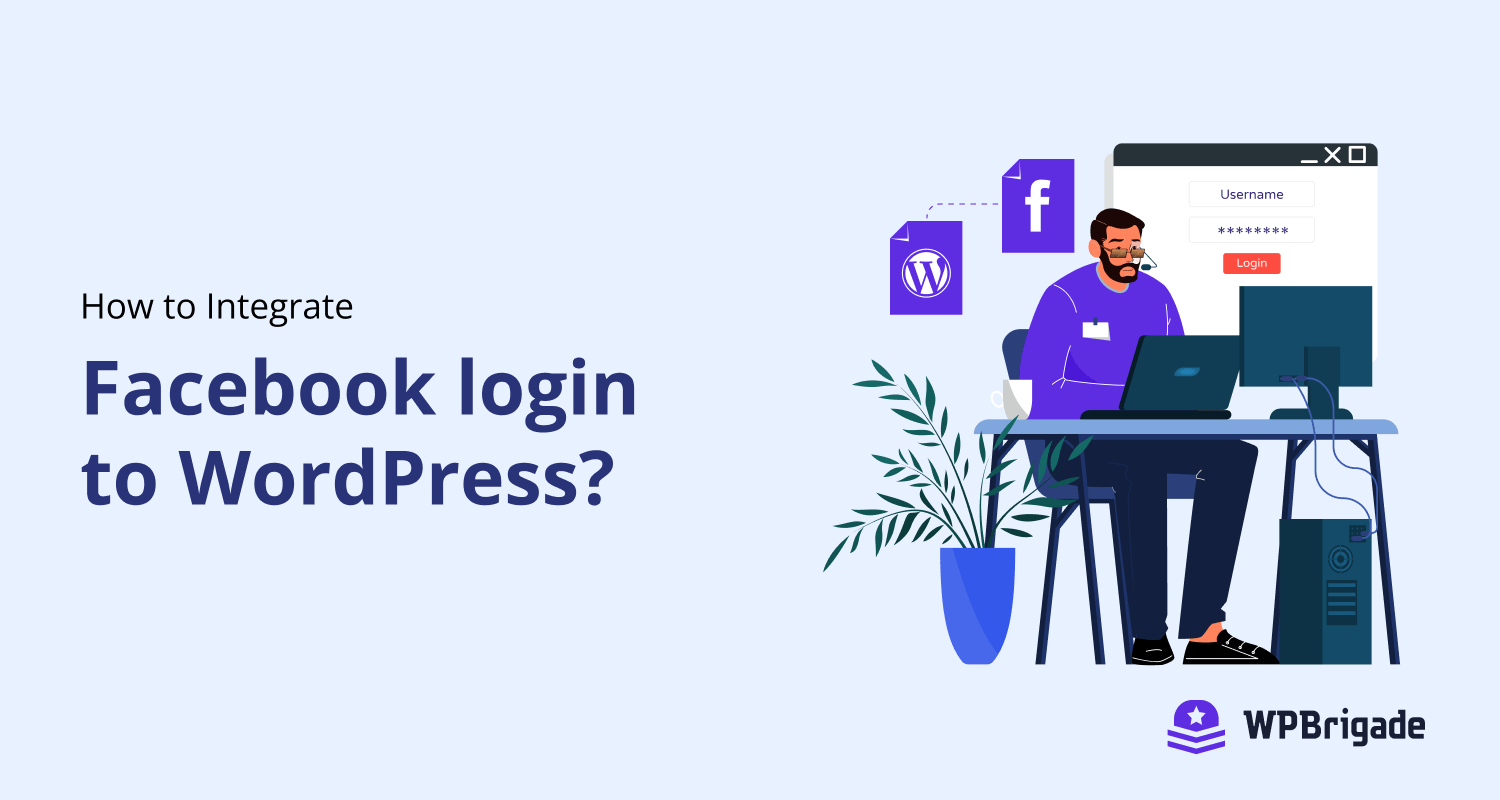
How to Integrate Facebook Login to WordPress?
Facebook API integration with a site improves your site’s social rank. We can integrate a like button to our website or a comment box, which is quite easy. A bit of a messy job comes when we get a requirement to create an app for a website and then integrate it. There may be many reasons to create an app. May be you want to give the users to signup to your site using their Facebook account or you want to engage more traffic from your social circle to your site/blog using Facebook login. So today we are going to…
-

Last updated on May 1st, 2026 by Editorial Team
Three Essential Tricks For WordPress Developers
WordPress is a specially crafted platform to publish content on the web. Many of the big giant content publishers are using WordPress like CNN, NYTimes, etc. You, as a content writer, find WordPress deadly easy and super cool to work on because WordPress provides many customizations to make your content looks good, and also many of us are spending time to add some spice to WordPress. Here I want you to add even more to your content writing experience. Following are the three most wanted WordPress tricks to make your writing experience easy and even better. How to restrict the…
-
Last updated on May 1st, 2026 by Editorial Team
What is WordPress nonce and how it works?
Today, I am going to share with you a tip that how we can make our WordPress plugins are themes more secure. I have seen in my plugins and themes where WordPress developers are not using WordPress nonces even though it is VERY important. If you are working as a WordPress freelancer developer and g custom plugins or themes, I am sure this article is going to be very helpful for you. What actually WordPress nonce means? WordPress Nonce basically in short is the term used for number used once. It’s a string value, a temporary unique key that is generated by WordPress automatically and acts as…