WPBrigade Blog
Latest WordPress Tutorials, Lists and Resources
-

Last updated on May 7th, 2026 by Editorial Team
How to create Facebook App and get App ID and secret?
Creating a Facebook App is no rocket science but it just needs clean steps to follow. Before we begin the suggested steps to create a Facebook app, the reason must be vivid. Facebook Application ID is used to integrate with the Social Media Sharing feature and Facebook login integration on the website, which is usually recommended for protecting the sensitive information keeping intact. It is because the moment a Facebook App is created that app will have an App ID and an App Secret. Then the the App ID is utilized to send several requests to Facebook for data. And The Facebook App Secret gets enable to decode…
-
Last updated on May 7th, 2026 by Editorial Team
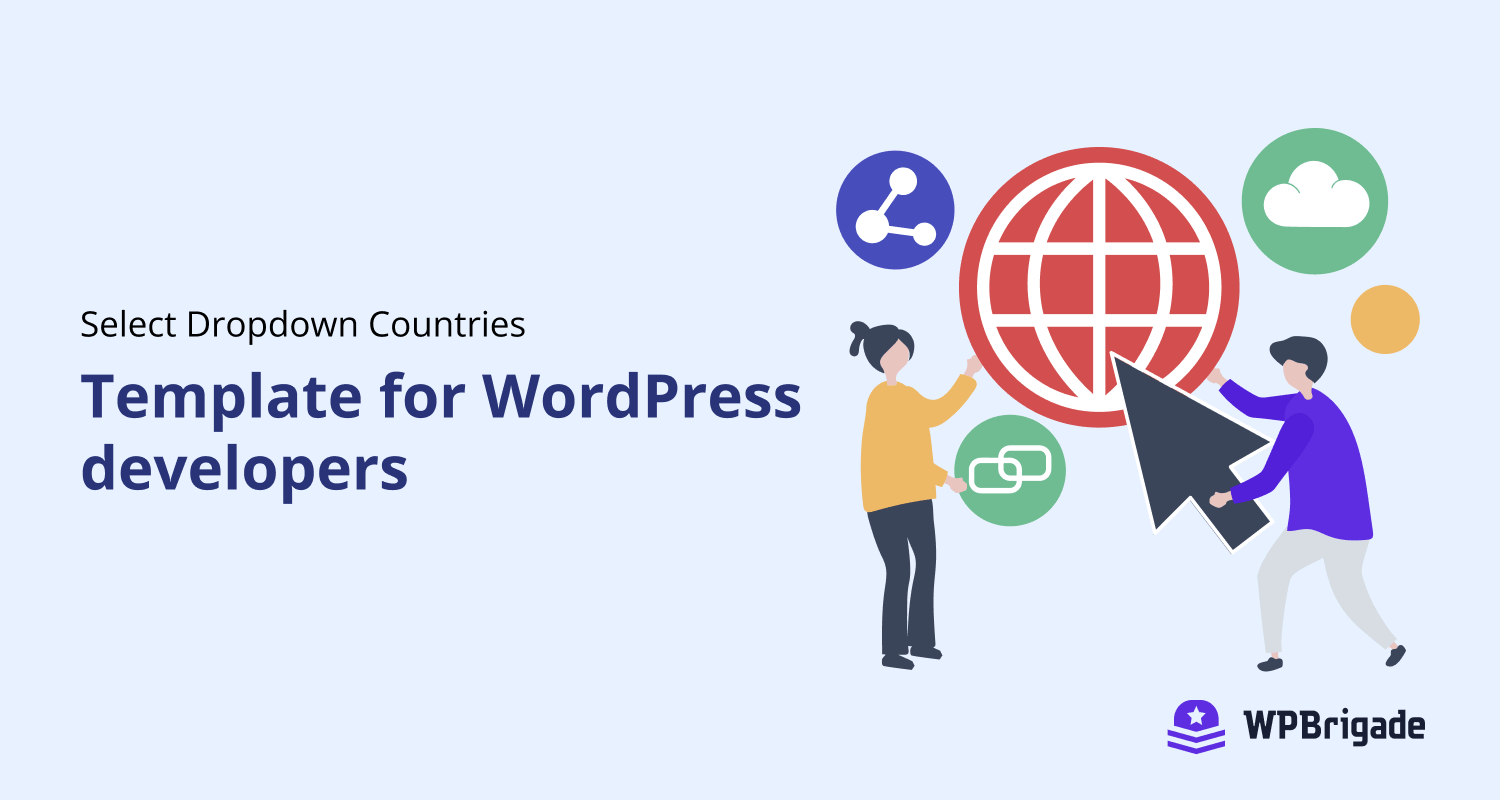
Select Dropdown Countries Template for WordPress developers
Hello WordPressers, I was working on a project where I had to add the countries dropdown on the signup page. So, for making select dropdown countries selection sticky in the case of error at signup, I needed to check the $_POST[‘countries’] with every option in the select dropdown. It seems a redundant effort to me as It took me 30 mins to do this task.
-
Last updated on May 7th, 2026 by Editorial Team
WordCamp Beauty through Asian Eyes
Today, I am going to share the experience of attending my first WordCamp. It was my first time in the U.S.A (and the time to Miami obviously). I stayed in the U.S.A for 20 days, traveled to four states, met a lot of great people, and visited a lot of awesome places. 10 days in Florida includes NASA, Universal, Lakes, Springs, Parks, Miami, and a special visit to KeyWest. Kudos to Asif, my buddy who drove me to all the places. I highly appreciate his support for everything he did for me during my trip. Attending a WordCamp was a…
-
Last updated on May 7th, 2026 by Editorial Team
Learn How To Integrate A WordPress Blog In Your Existing Website
WordPress is amazing in its nature. You can convert it into anything and integrate it with any PHP website. You can even set the degree of integration. You may only need a few WordPress features when integrating it with your website. For example, you want to display the recent blog posts on your website’s homepage. Your website is in PHP, and a WordPress blog is installed in another folder. In this article, we’ll guide you through the steps to achieve this awesomeness by integrating a WordPress blog into your existing website. Before starting with the steps to educate yourself on…
-
Last updated on May 7th, 2026 by Editorial Team
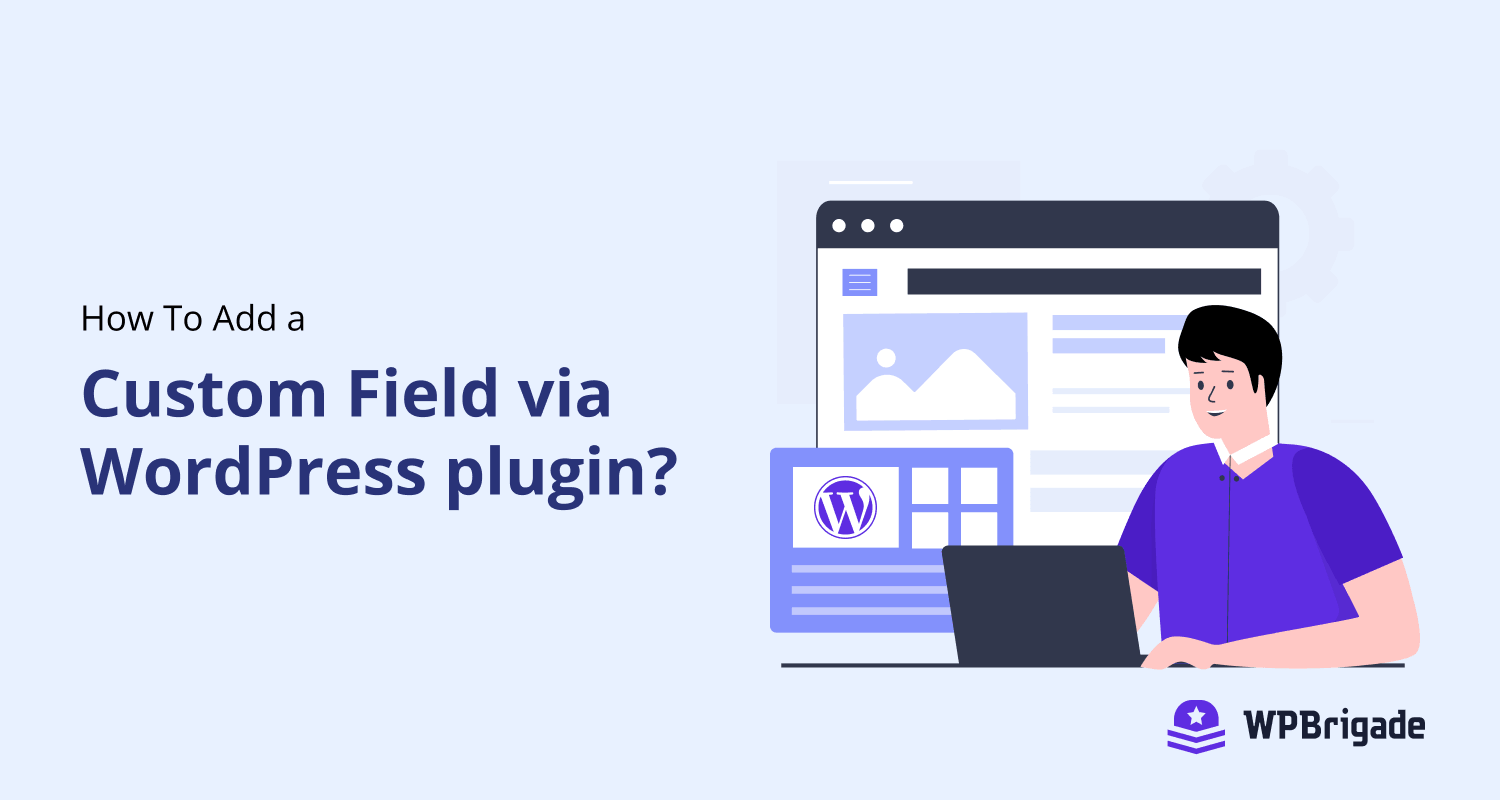
How To Add a Custom Field via WordPress plugin?
Sometimes we need to add custom data for our posts and pages, other than title and content, especially when one becomes comfortable with WordPress, there is an urge to experiment with exciting features using WordPress custom fields. Suppose you are using Custom Post Types for your bookstore and want to save the Book price as well. You have added a title and description, but for the price, you will add a custom field. Today, we are going to gain an understanding of how you can add custom fields via WordPress plugins. In modern WordPress development, these kinds of functional stuff should…