-

Last updated on April 3rd, 2026 by Editorial Team
How To Translate a WordPress Plugin Into your Local Language
As you already know that WordPress is an open-source platform and it is translated into many languages by different contributors. Most plugins are already translated into different languages. But if you find a plugin that is not already translated into your local language, you can translate that plugin yourself. You don’t need to be technical
-

Last updated on April 3rd, 2026 by Editorial Team
How to create Facebook App and get App ID and secret?
Creating a Facebook App is no rocket science but it just needs clean steps to follow. Before we begin the suggested steps to create a Facebook app, the reason must be vivid. Facebook Application ID is used to integrate with the Social Media Sharing feature and Facebook login integration on the website, which is usually
-

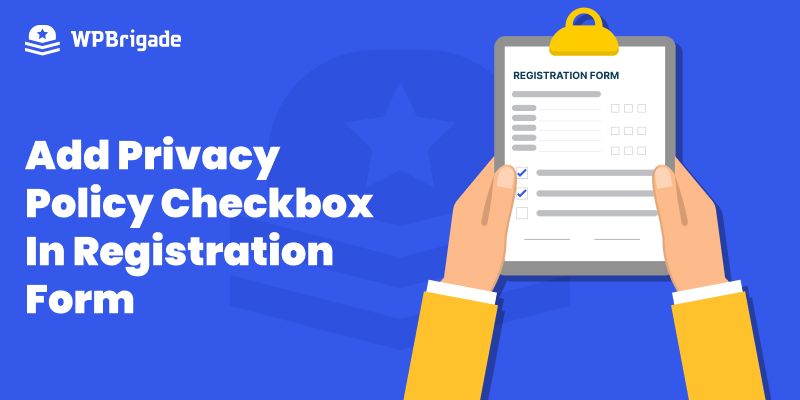
Last updated on April 3rd, 2026 by Editorial Team
How to Add Privacy Policy Checkbox in Registration Form?
By default, the user registration for WordPress is off. Once you enable it, you’ll find it doesn’t let you gather much information from users when they first register on your site. It has basic fields, including Username or Email Address and Password. Custom fields empower you to get extra information from your users, such as
-
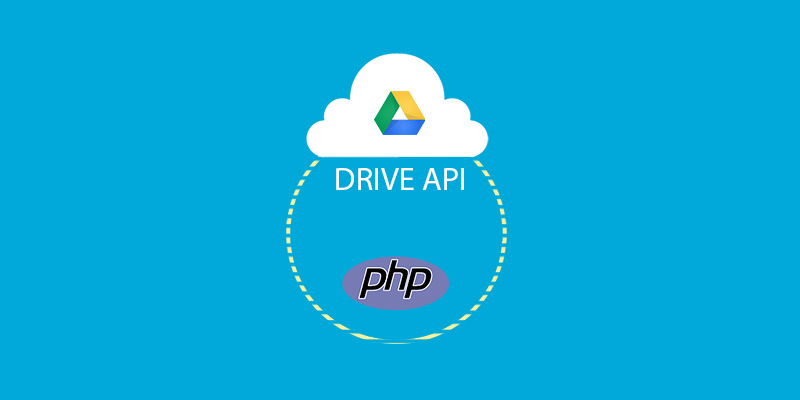
Last updated on April 3rd, 2026 by Editorial Team
Diving in Google Drive APIs – List Files and Folders
Today, We are going to actually start playing with Google Drive APIs. Previous parts were base for implementation of web apps with Google APIs. In this part 3, We will use Google Drive functions and list files ,folders and display them at page. I assume you have already gone through Authentication and Installation process. I have shared
-
Last updated on April 3rd, 2026 by Editorial Team
Diving in Google Drive APIs – Authentication
In this part 2 of the Google Drive Series, We are going to dig the most important and confusing concept of connecting with Google APIs. Yes, I wrote confusing because there many developers who get confused when they need to implement connectivity of their application to Google APIs. I will try to make this concept