WPBrigade Blog
Latest WordPress Tutorials, Lists and Resources
-
 Last updated on January 11th, 2026 by Editorial Team
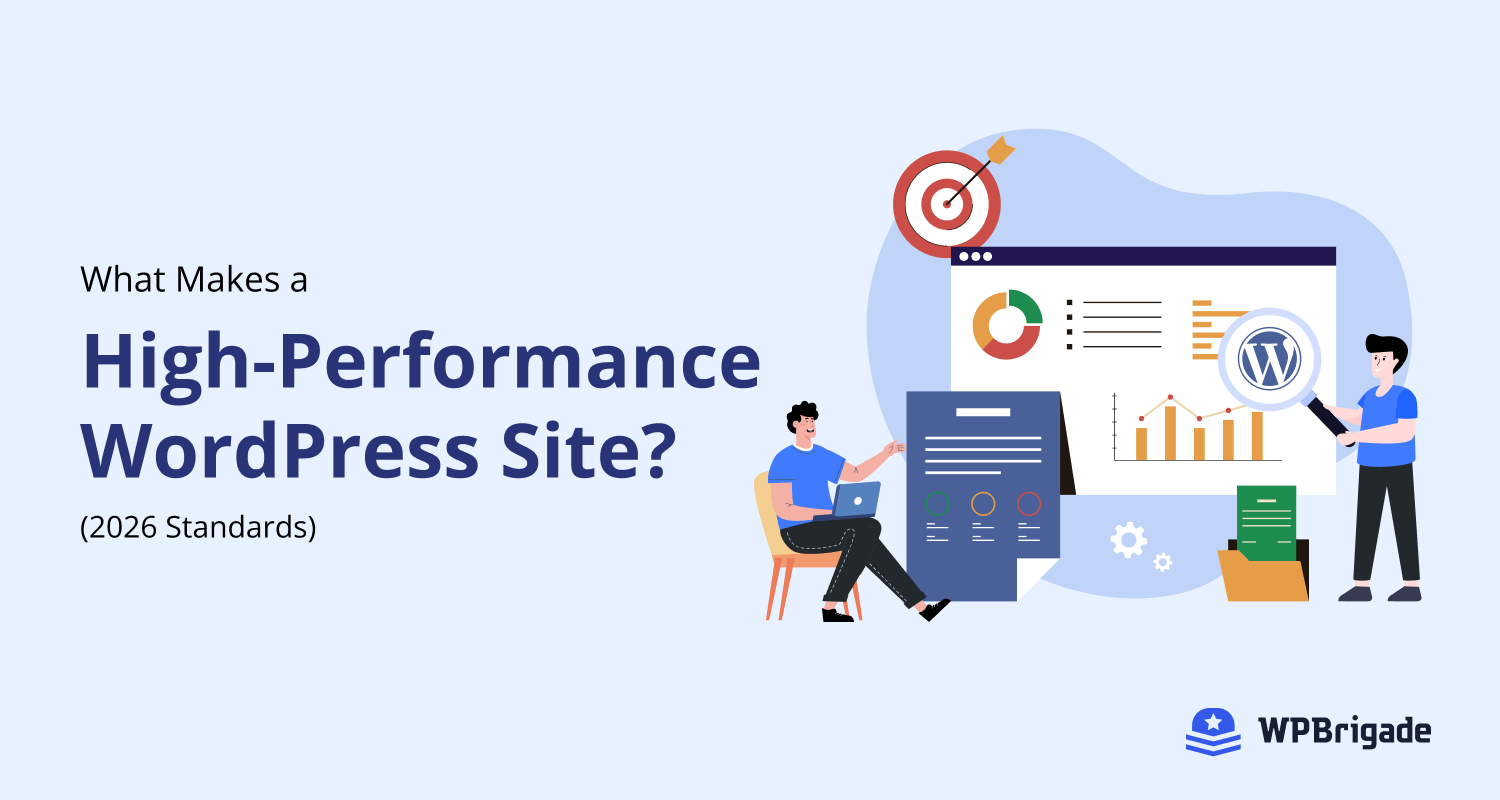
What Makes a High-Performance WordPress Site? (2026 Standards)
WordPress speed optimization isn’t just a feature anymore. It’s the foundation of smart businesses in 2026. In the fast-paced digital landscape of 2026, the definition of a “fast website” has changed for a high performance WordPress site. Users no longer just want pages that load quickly; they demand pages that react instantly. If a customer clicks “Buy Now” and waits even a second, they’re gone. A high performance WordPress site today is an ecosystem where smart servers meet predicted user behavior. It’s about smooth interactivity, mobile optimization, and site stability during spikes. At WPBrigade, we don’t just build websites. We…
-
 Last updated on April 4th, 2026 by Editorial Team
Why WordPress Is Still the Best CMS for Business Websites in 2026?
Is WordPress still the best CMS for business websites in 2026? The internet evolves fast, so businesses need a website platform that is strong, scalable, and safe. There are many new ways to build a website, like simple builders, new “headless” systems, and custom-made platforms. But even with all these choices, the facts show that WordPress is still the best option for businesses in 2026. WordPress has kept up with every new trend. Other website tools are suitable for one specific job, but WordPress is a complete, open platform that can grow easily. It works for a small company blog…
-
 Last updated on June 11th, 2026 by Editorial Team
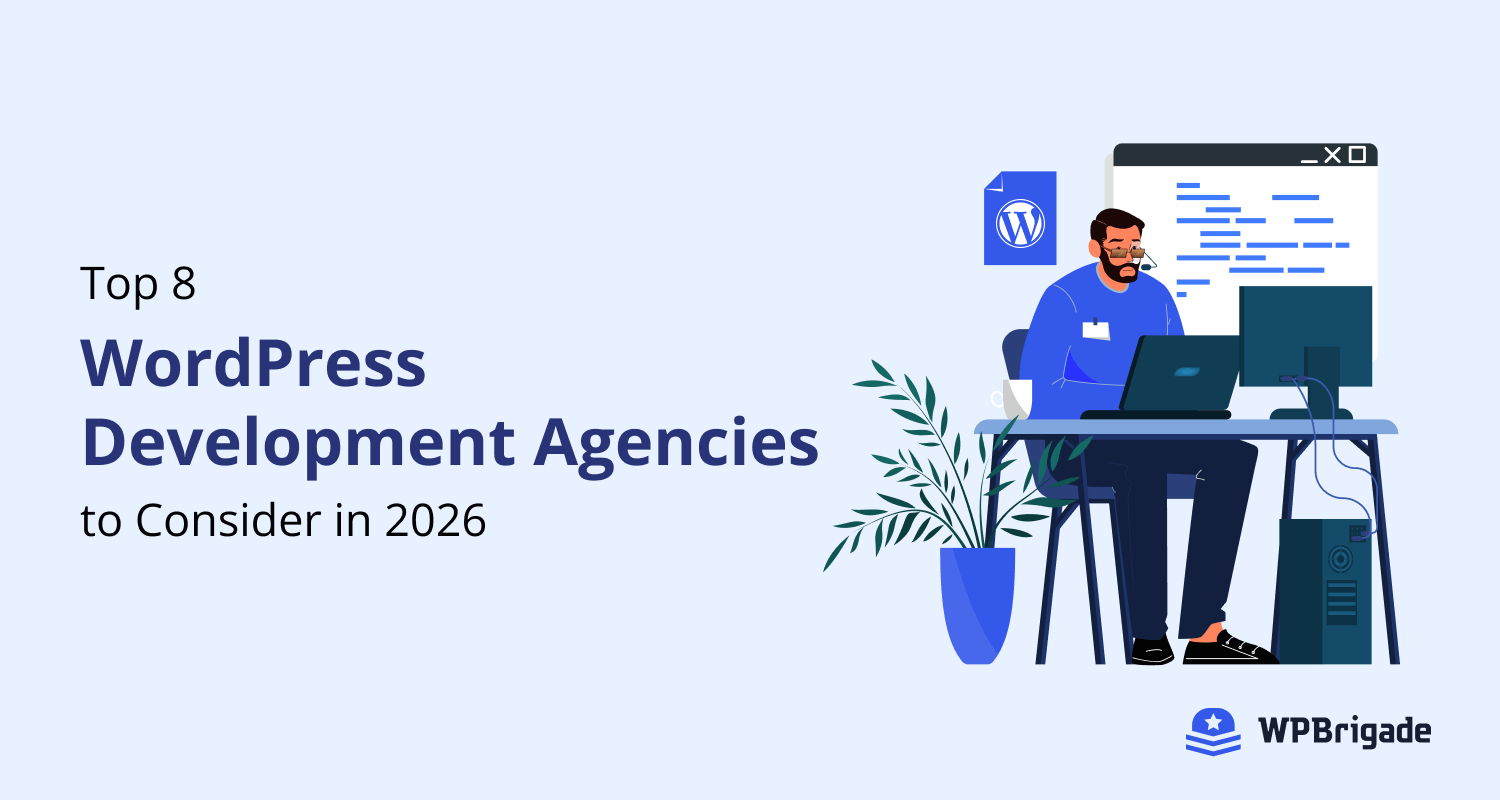
Top 8 WordPress Development Agencies to Consider in 2026
The demand for specialized WordPress development agencies will rise rapidly by 2026. Relying on a single developer or freelancer is risky. Projects can stall, knowledge gets siloed, and support disappears once they move on. Businesses now prefer hiring WordPress development companies that offer teams, processes, and accountability. Whether you’re a startup or an enterprise, modern projects require more than coding. They demand strategic partners who can handle performance optimization, headless development, custom plugin engineering, scalable architecture, and long-term security. This shift in dynamics is why B2B and C2B organizations increasingly turn to agencies rather than individual developers. In this guide,…
-
 Last updated on May 30th, 2026 by Editorial Team
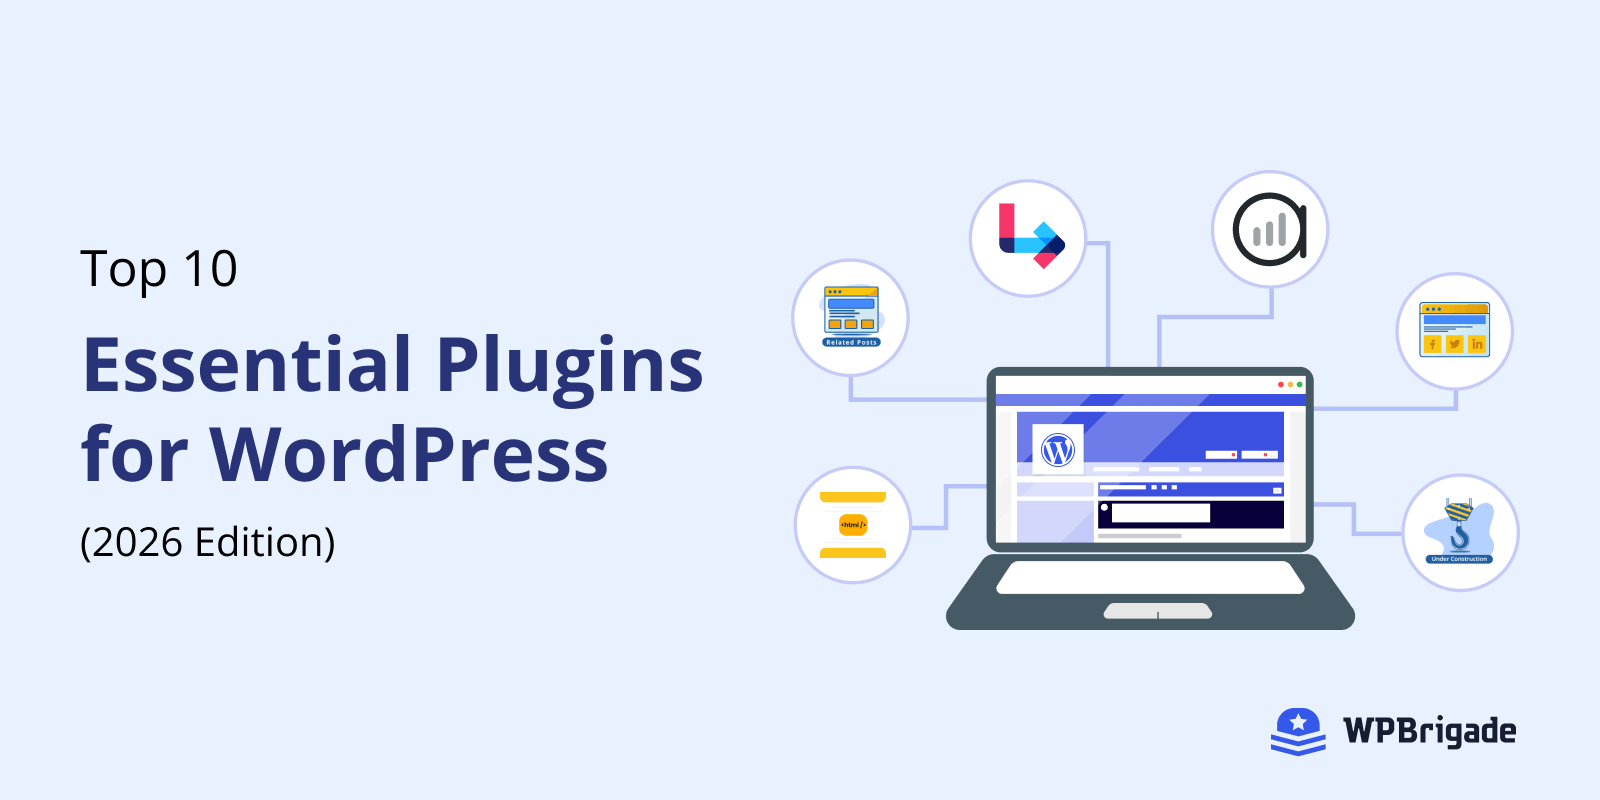
Top 10 Essential Plugins for WordPress (The 2026 Guide)
At WPBrigade, every great site runs on smart, essential plugins for WordPress. These are the kind of plugins that simplify your workflow, protect your data, and help you grow. In 2026, success online is about performance, privacy, and user experience working together seamlessly. The right plugins will turn your WordPress site from good to exceptional. That’s why I have carefully curated this list of the essential plugins for WordPress. These trusted plugins power everything from analytics and login security to social sharing, compliance, and optimization. Each one has been tested for real-world impact, focusing on speed, usability, and ROI, so…
-
 Last updated on April 11th, 2026 by Editorial Team
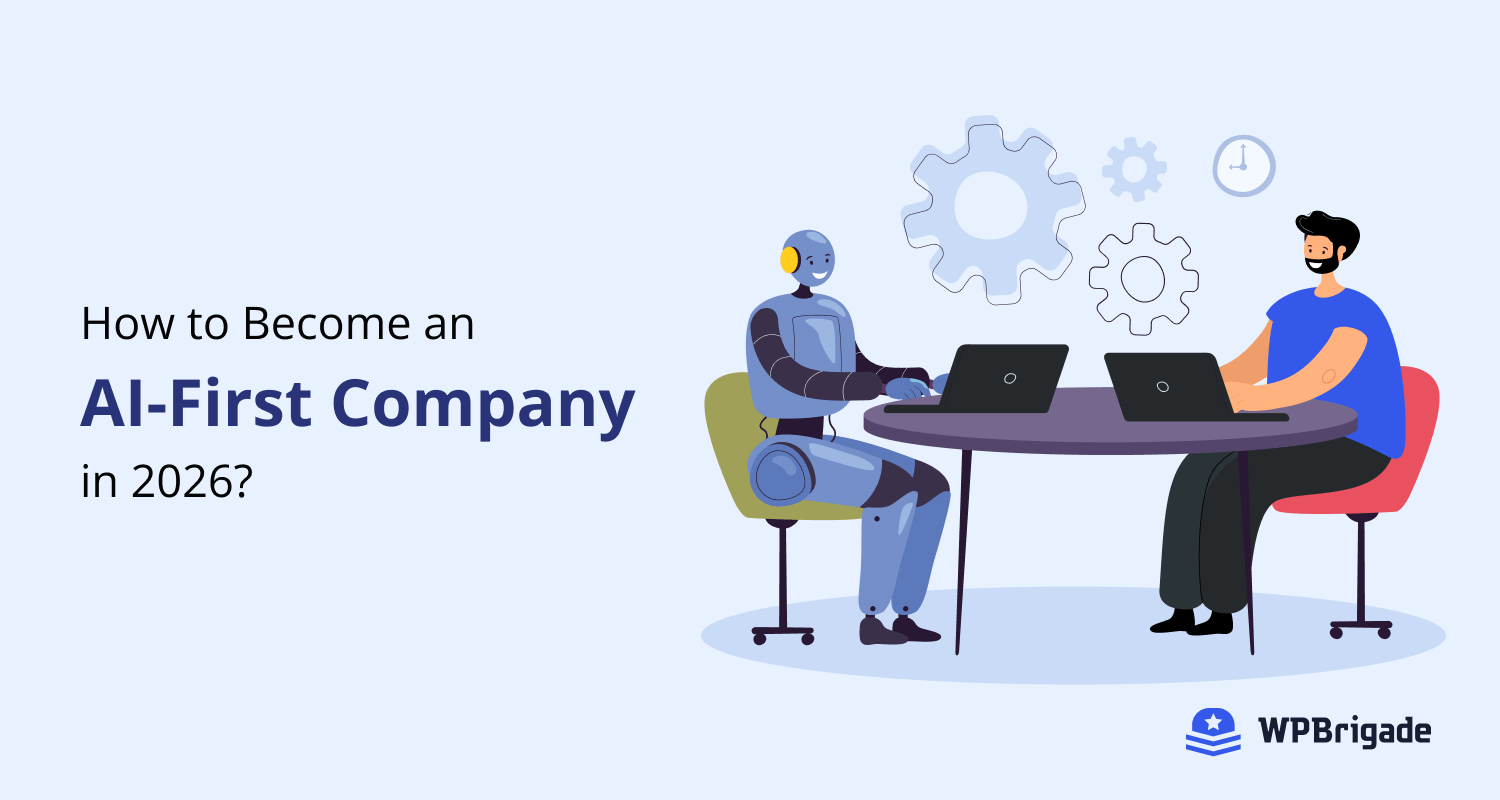
How to Become an AI-First Company in 2026?
Imagine a company where everything runs smoothly, decisions are made faster, and customers get exactly what they need, when they need it. This is what an AI-first company looks like. In 2026, being AI-first isn’t optional; it’s a major competitive advantage that separates market leaders from laggards. Becoming an AI-first company means more than adding a few AI tools. It’s a mindset shift: using data and machine intelligence to inform product design, automate repetitive work, personalize customer journeys, and speed up decision-making across the business. Whether you call it AI-first company, AI-first enterprise, or simply an AI-first strategy, the outcome…