Are you looking to customize the logo for your under-construction, coming-soon, or maintenance-mode pages? The Logo Customization feature lets you upload and display your brand logo on the maintenance or coming-soon page.
This helps keep your site looking professional and consistent with your brand, even when it’s temporarily offline.
In this guide, we will walk you through the steps to customize the logo using the Under Construction Maintenance Mode Plugin, so you can maintain brand consistency while your site is under construction.
How to Add the Logo to Your Under Construction Pages #
To add your logo, log in to your WordPress account and navigate to the Admin Dashboard.
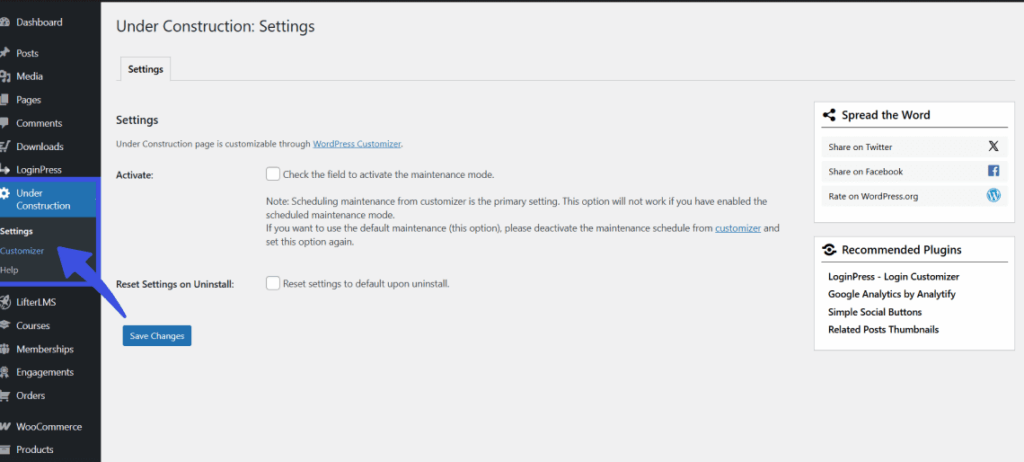
From the left-hand menu, select Under Construction, then click Customizer to open the Under Construction Maintenance Mode settings.
Once inside the Customizer, locate and click the Logo section in the side panel, then click the Select Image button to upload and set your desired logo.
After uploading and adjusting the logo, click Save Changes to apply the changes.
What Happens Next?
Once you save the changes, your logo will be displayed on the maintenance or coming soon page.
Tips for Logo Customization #
- Make sure your logo is in a high-quality format (like PNG or JPEG).
- Adjust the logo size so it’s not too large or too small on the maintenance page.
- Use a logo that complements your background image or color palette.
Questions about this process? Get in touch with our support team for more details.